1. Determine How Much Power You Need for Your RV/Van
First, make a list of all of the electrical appliances you will use in your van or RV.
Some examples include:
- Refrigerator
- Fan
- Water pump
- Lights
- Cellphone
- Laptop
- Inverter
- Cell phone booster
- Charge controller
- Heater
Look up the maximum current each appliance draws (surge) in amps.
For example, a typical 12-volt compressor fridge uses about 50 watts. Use the following equation to determine the current.
Watts / Volts = Amps
The fridge is then 50 watts / 12 volts = 4.2 Amps
Next, estimate how many hours you will use each appliance daily. Some people turn their fridges off at night to save energy and not hear the sound of the compressor. So if the fridge is estimated to be on for 16 hours per day, at 4.2 amps that is 67 AH (amp hours).
Complete this exercise for each electrical component to sum up the total amp hours needed for the battery sizing.
In this case, let’s assume that the average daily consumption is 100 AH.
2. Size Your Inverter
The inverter is used to convert solar’s DC output to AC power and is sized to accommodate the highest drawing AC appliance (such as a hair dryer, rice cooker, or induction stovetop). If you plan on running additional appliances at the same time, such as the rice cooker while you are charging a laptop, then the inverter must be sized to include the total wattage.
One common example is:
- Computer = 85 W
- Second computer = 85 W
- Fridge = 50 W
- Blender = 700 W
Total = 920 W
Typically, 1000-1500 Watts is enough capacity for an inverter. If using an induction cooktop (1800 W), then 2000 W to 3000 W is preferable.
Pure sine wave inverters are the most efficient and expensive choice, with good reason as they are almost perfect replicas of AC power for uninterrupted, smooth, and quiet service. Pure sine wave inverters are needed for connecting to grid power or operating newer electronics such as a TV or microwave.
Modified sine wave inverters are a more affordable option, but the produced electricity is more choppy and the inverters make more noise than a pure sine wave inverter. These inverters may not work with compressor fridges and other newer appliances.
3. Choose a Battery size
The battery will be charged by the solar panels with the option of being charged by the car’s alternator and also shore power. To determine the battery sizing, you must determine how many days of power you are comfortable with having as backup power. This estimate will be useful for rainy or cloudy days in which there won’t be much or any solar power. You can start by determining how many days you plan on staying in one place (in the case you also charge your battery as you drive). This estimate can also be linked to the maximum number of days you have for water.
If you want enough battery power for, say, 3 days (assuming no sun, driving, or grid power), then you must multiply your estimated daily consumption by three. In this example, the daily consumption is 100 AH, so for 3 days the battery storage must be at least 300 AH.
There are a few different types of batteries to choose from:
- Flooded lead acid
- Sealed lead acid (absorbed glass mat (AGM) or gel)
- Lithium (lithium ion or lithium iron phosphate)
Flooded lead acid batteries are the cheapest option but not the safest as they off-gas toxic hydrogen gas. Thus, if using lead acid, you must properly vent your system (which may negate the cheaper cost of the batteries).
Sealed lead acid batteries, such as AGM or gel, do not off-gas or leak. For AGM batteries, since they can only discharge 50% of their capacity, to accommodate 300 AH of storage the AGM batteries must be double that at 600 AH. The benefit of AGM is that they are heavy duty and durable to withstand fluctuating temperatures (such as sub-freezing). AGM batteries are also much less expensive than lithium.
Gel batteries are the most expensive type of lead-acid battery, but they have a higher discharge rate than AGM at 75%. These batteries are very sensitive though and require a quality solar charger to make sure they don’t get damaged.
Lithium ion and lithium iron phosphate (LiFePO4) batteries are more efficient than AGM and can safely discharge with a depth of discharge (DOD) of 100% (although it is said to regularly only discharge to 80% to preserve battery life) Thus, theoretically to accommodate 300 AH a lithium battery can be sized equally at 300 AH. Since less lithium batteries are required in comparison to AGM, they take up less space and are more lightweight. Lithium batteries also have the longest life so will most likely last the full life of the van. The con with lithium batteries if the temperature drops below freezing, charging the batteries at the same time will damage the batteries. Thus, if planning to travel in the winter, a heater will need to run to keep the batteries warm.
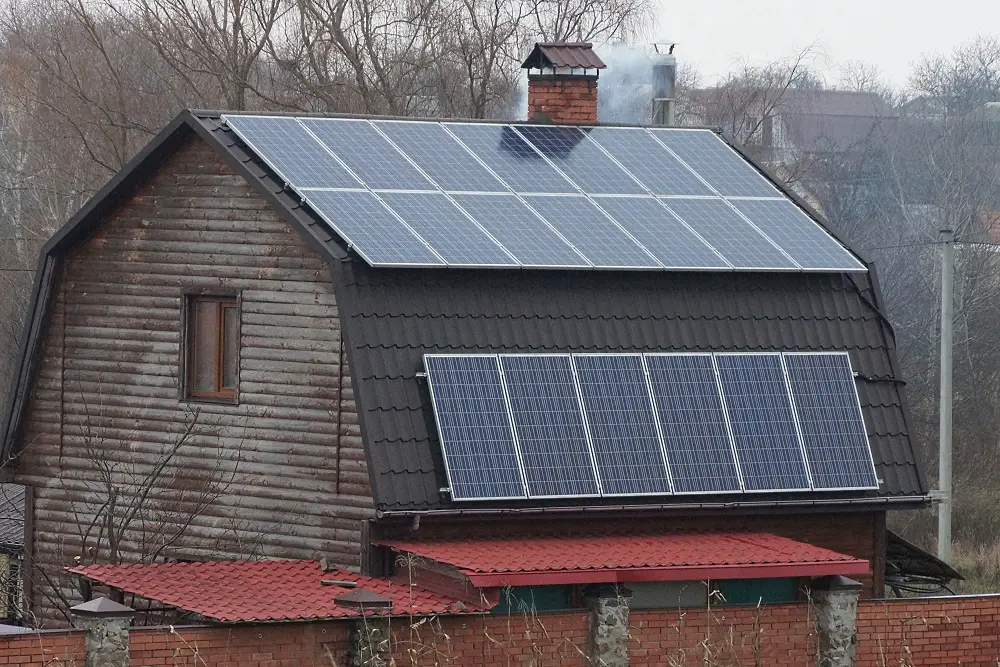
4. Size the Solar Panels
100 W of solar panels has a current of about 5 amps (short-circuit current – Isc). Usually, there are 5 to 6 hours of peak sunlight per day. Multiply the worst-case scenario of 5 hours per day by the max amps of the solar panels: 5 amps x 5 hours = 25 AH. To meet the 100 AH estimated daily usage, 400 W of solar panels would be required.
The next decision will be to wire the panels in series or parallel. If you choose to wire the panels in parallel, the currents are added together but the voltage remains the same as a single panel. The opposite is true for series in which the voltages are summed.
Parallel allows for each panel to act independently of one another. The downside with parallel is that the wires will have to be sized larger to satisfy the larger current. Also, if using lithium batteries, they require 14.4 volts of power to start charging.
A typical 100 W solar panel has a voltage of 18 to 20 V so will need to be operating at 72%-80% capacity to begin charging the battery. The solar charge controller will then have to be sized for the total amps of solar; in this example, 5 amps x 4 panels = 20 amps. Using a 25% safety factor, the controller should be at least 25 amps and 24 volts.
With series, if one part of the solar panel becomes shaded, the entire solar system is affected. If you decide to wire in series, it is imperative to get a MPPT (maximum power point tracking) charge controller to regulate and optimize the voltage and current of the solar system.
Since the voltages are summed, there must be a voltage step down device such as a buck converter. For instance, if each 100 W panel is 18 V, then four panel would be 72 V. This 72 V will have to be stepped down to at least 48 V to accommodate a charge controller. The main benefit of series is that this wiring option is more efficient than parallel as there is less voltage drop and cheaper wiring required.
References
1. https://bearfoottheory.com/
2. https://vanlifecustoms.com/
4. https://www.sciencedirect.com/
Featured Image Editorial Credit Voyagerix / Depositphotos.com